Want to watch late-night TV without waking everyone in the house? Your AirPods let you stream your favorite shows in surround sound—without touching the volume button. Here’s everything you need to know about how to connect your AirPods to Apple TV and personalize their settings.
How to Pair AirPods to Apple TV
To pair AirPods to Apple TV, place them in the case and close it. Then press the “<” or “Menu” button on your Apple TV remote and go to “Settings > Remotes and Devices > Bluetooth.” Finally, open your AirPods case, press the pairing button and select them under “Devices.”
- Place both AirPods in the case and close it. Keep the case closed for at least 30 seconds.
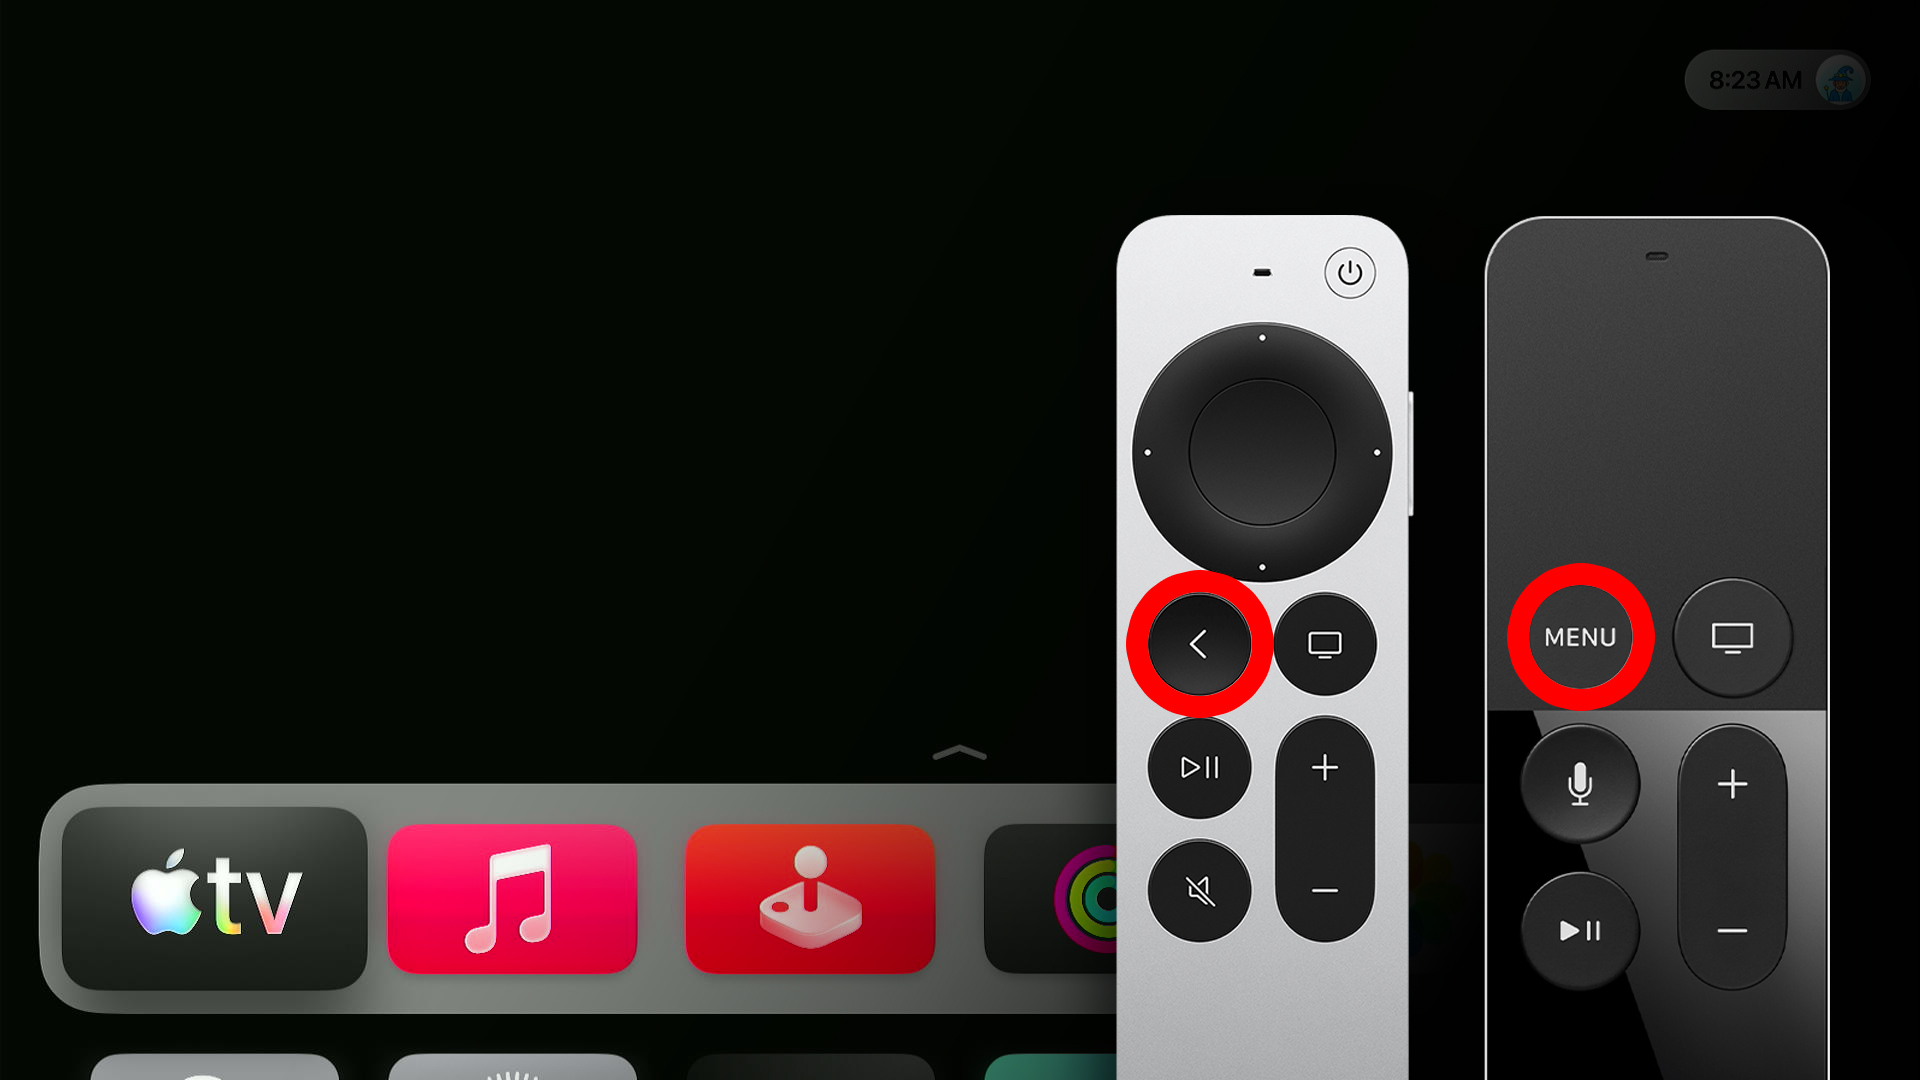
- Then press the “<” or “Menu” button on your Apple TV remote. This will take you to the Apple TV home screen.

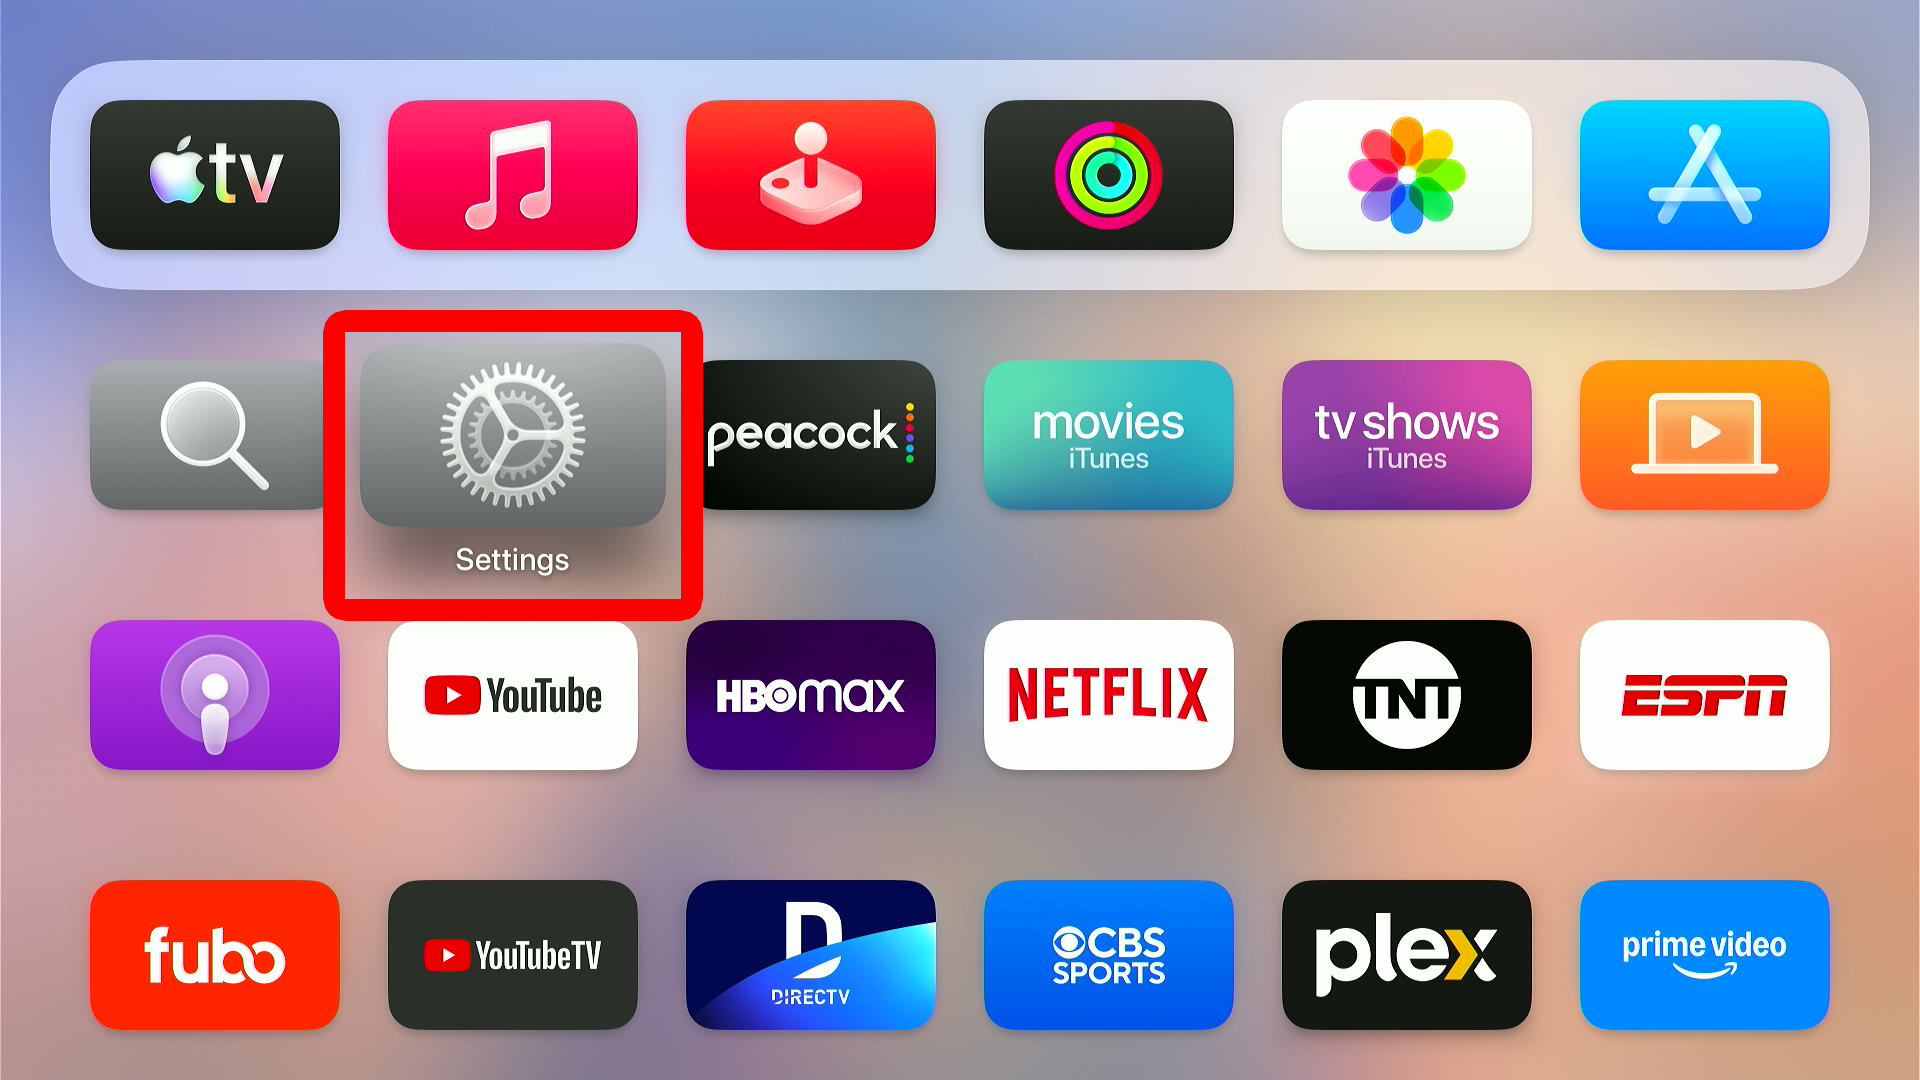
- Next, go to “Settings.” From the Apple TV home page, scroll down and select the Settings app.
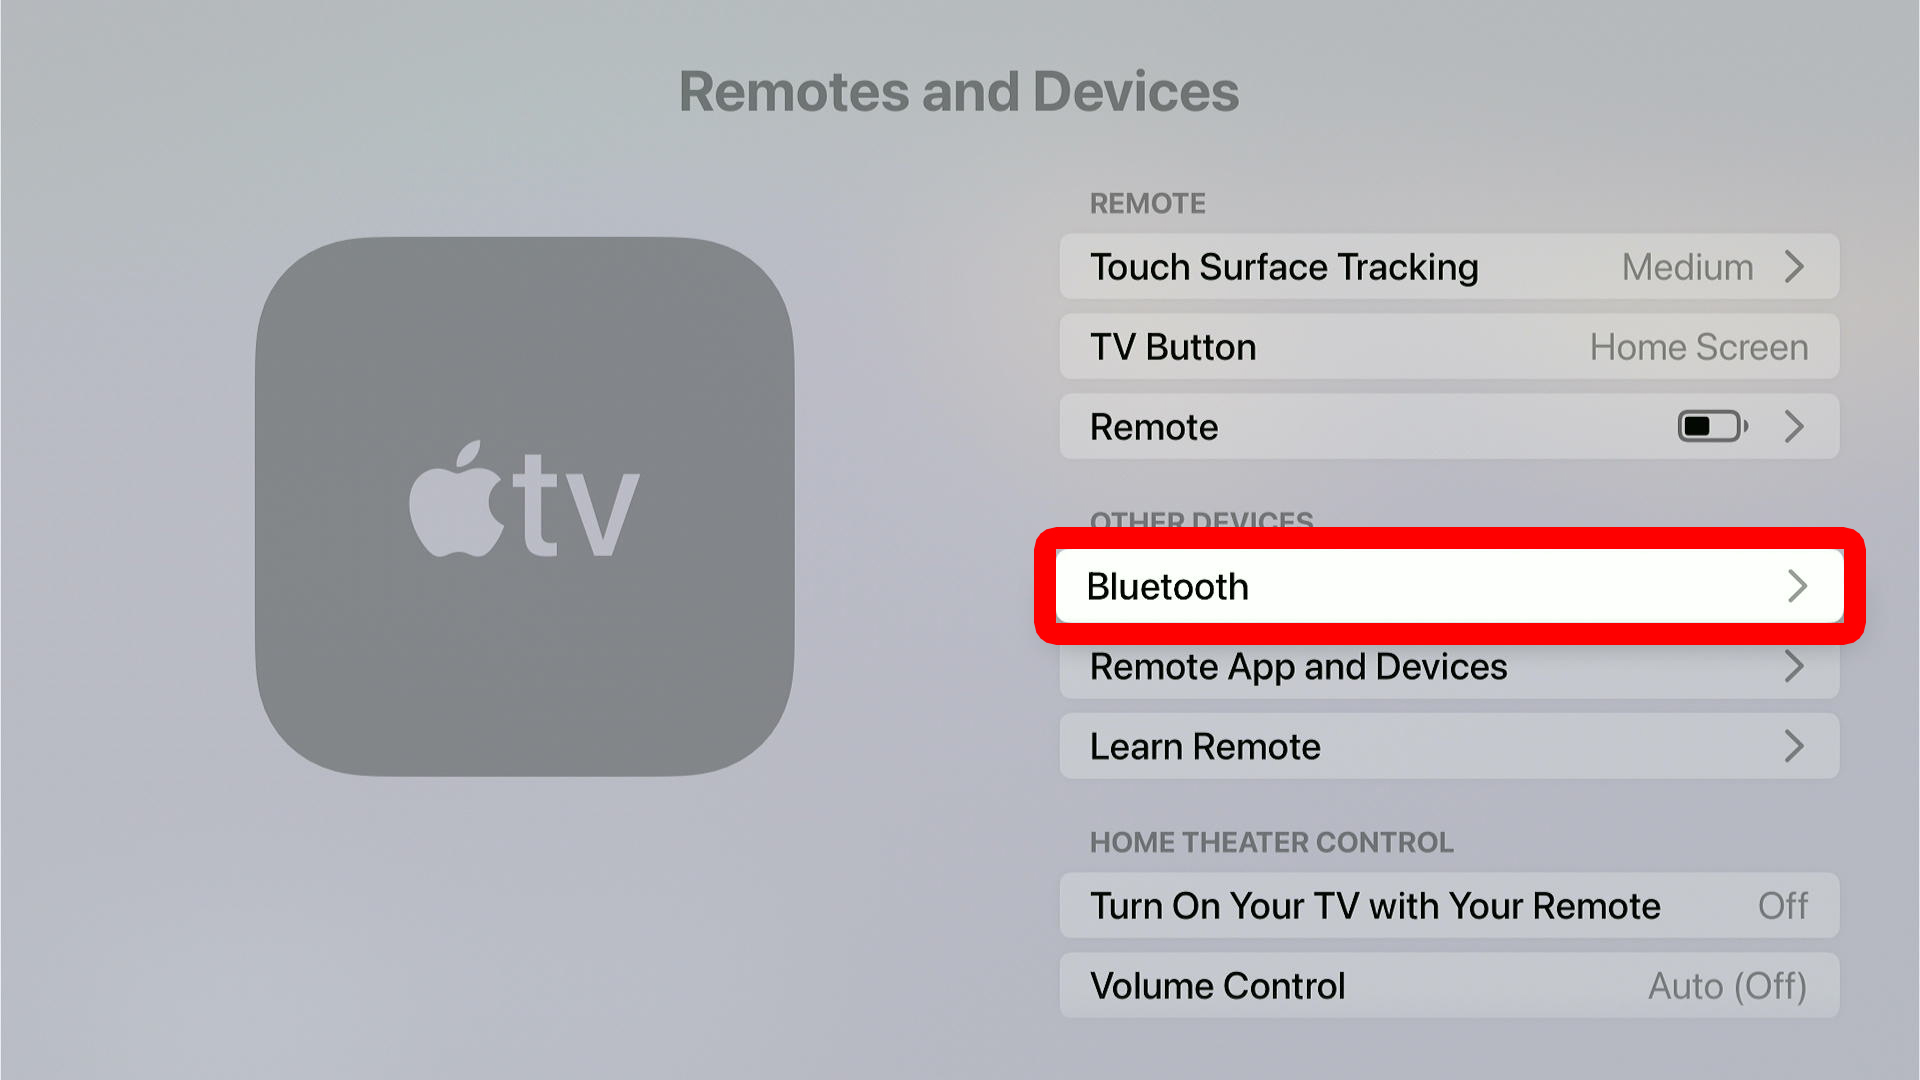
- Select “Remotes and Devices.”
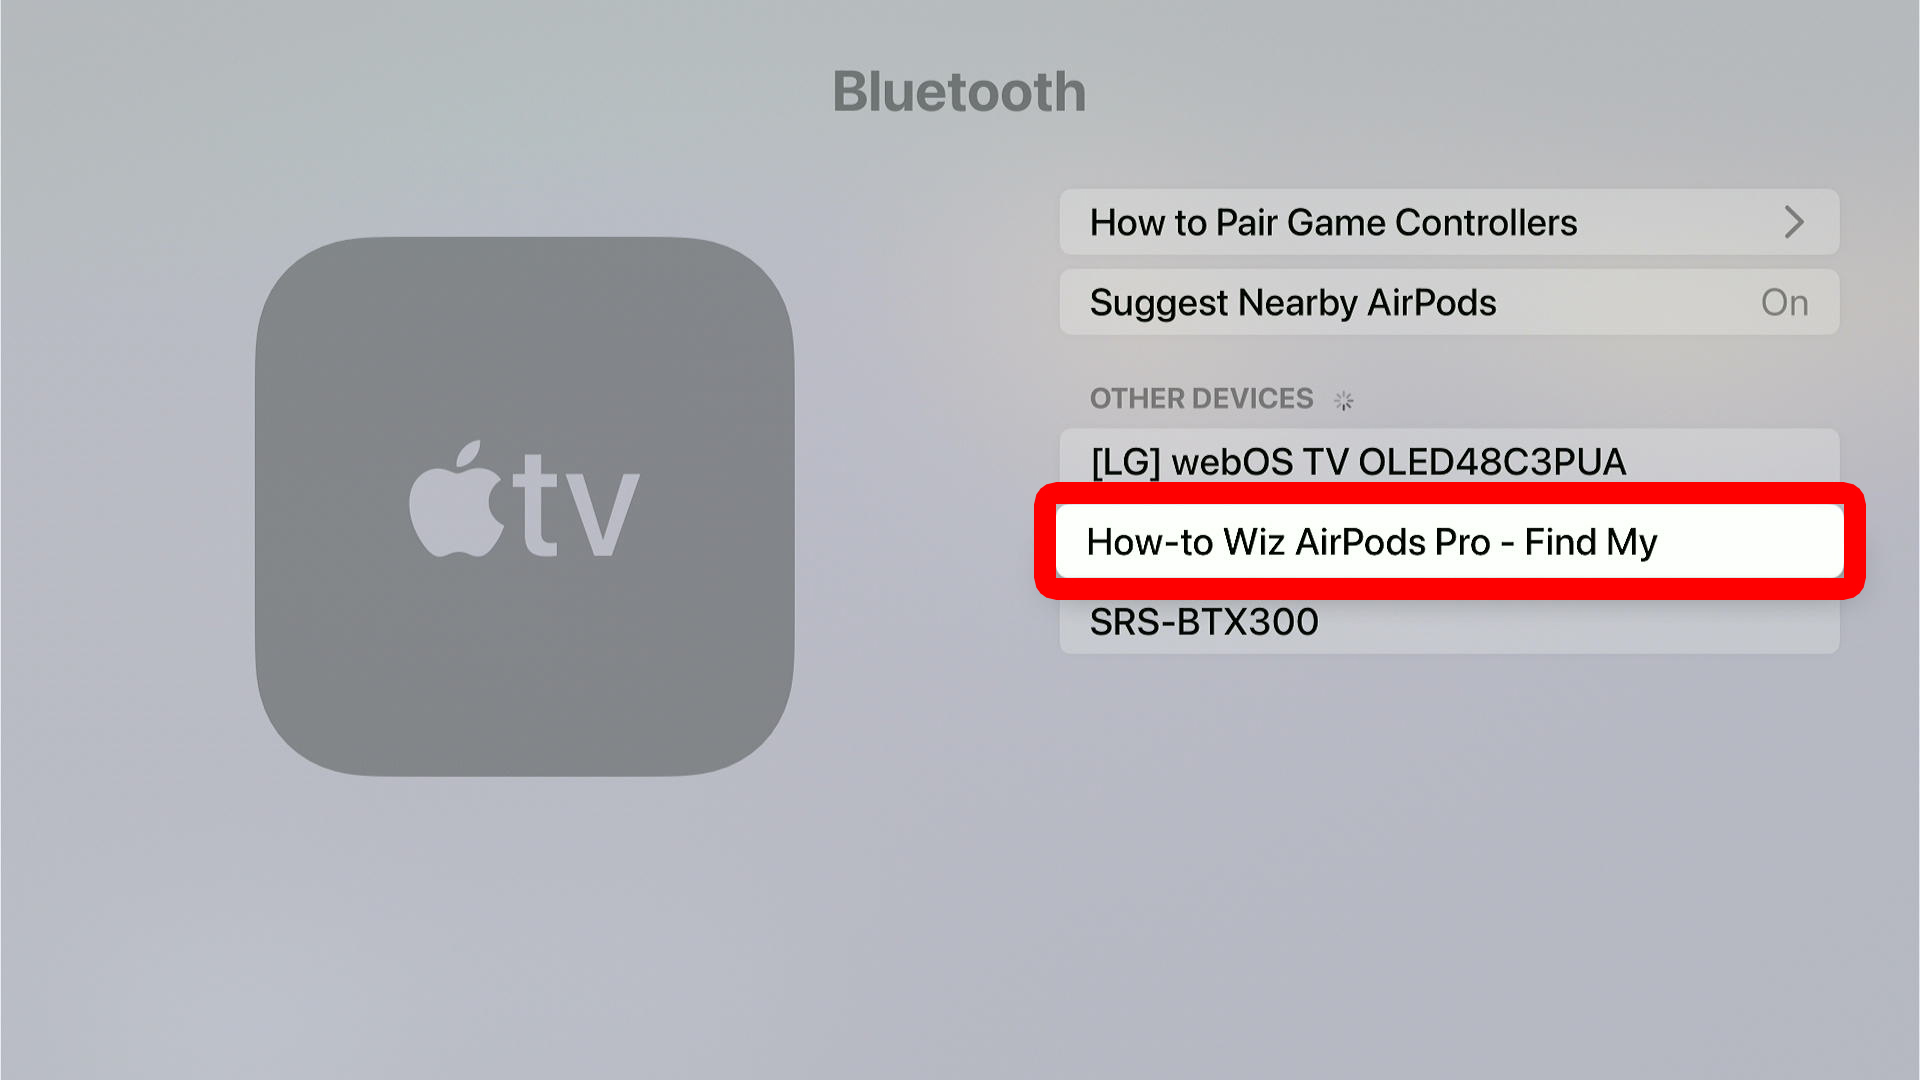
- Go to “Bluetooth.” You will see this under “Other Devices.”
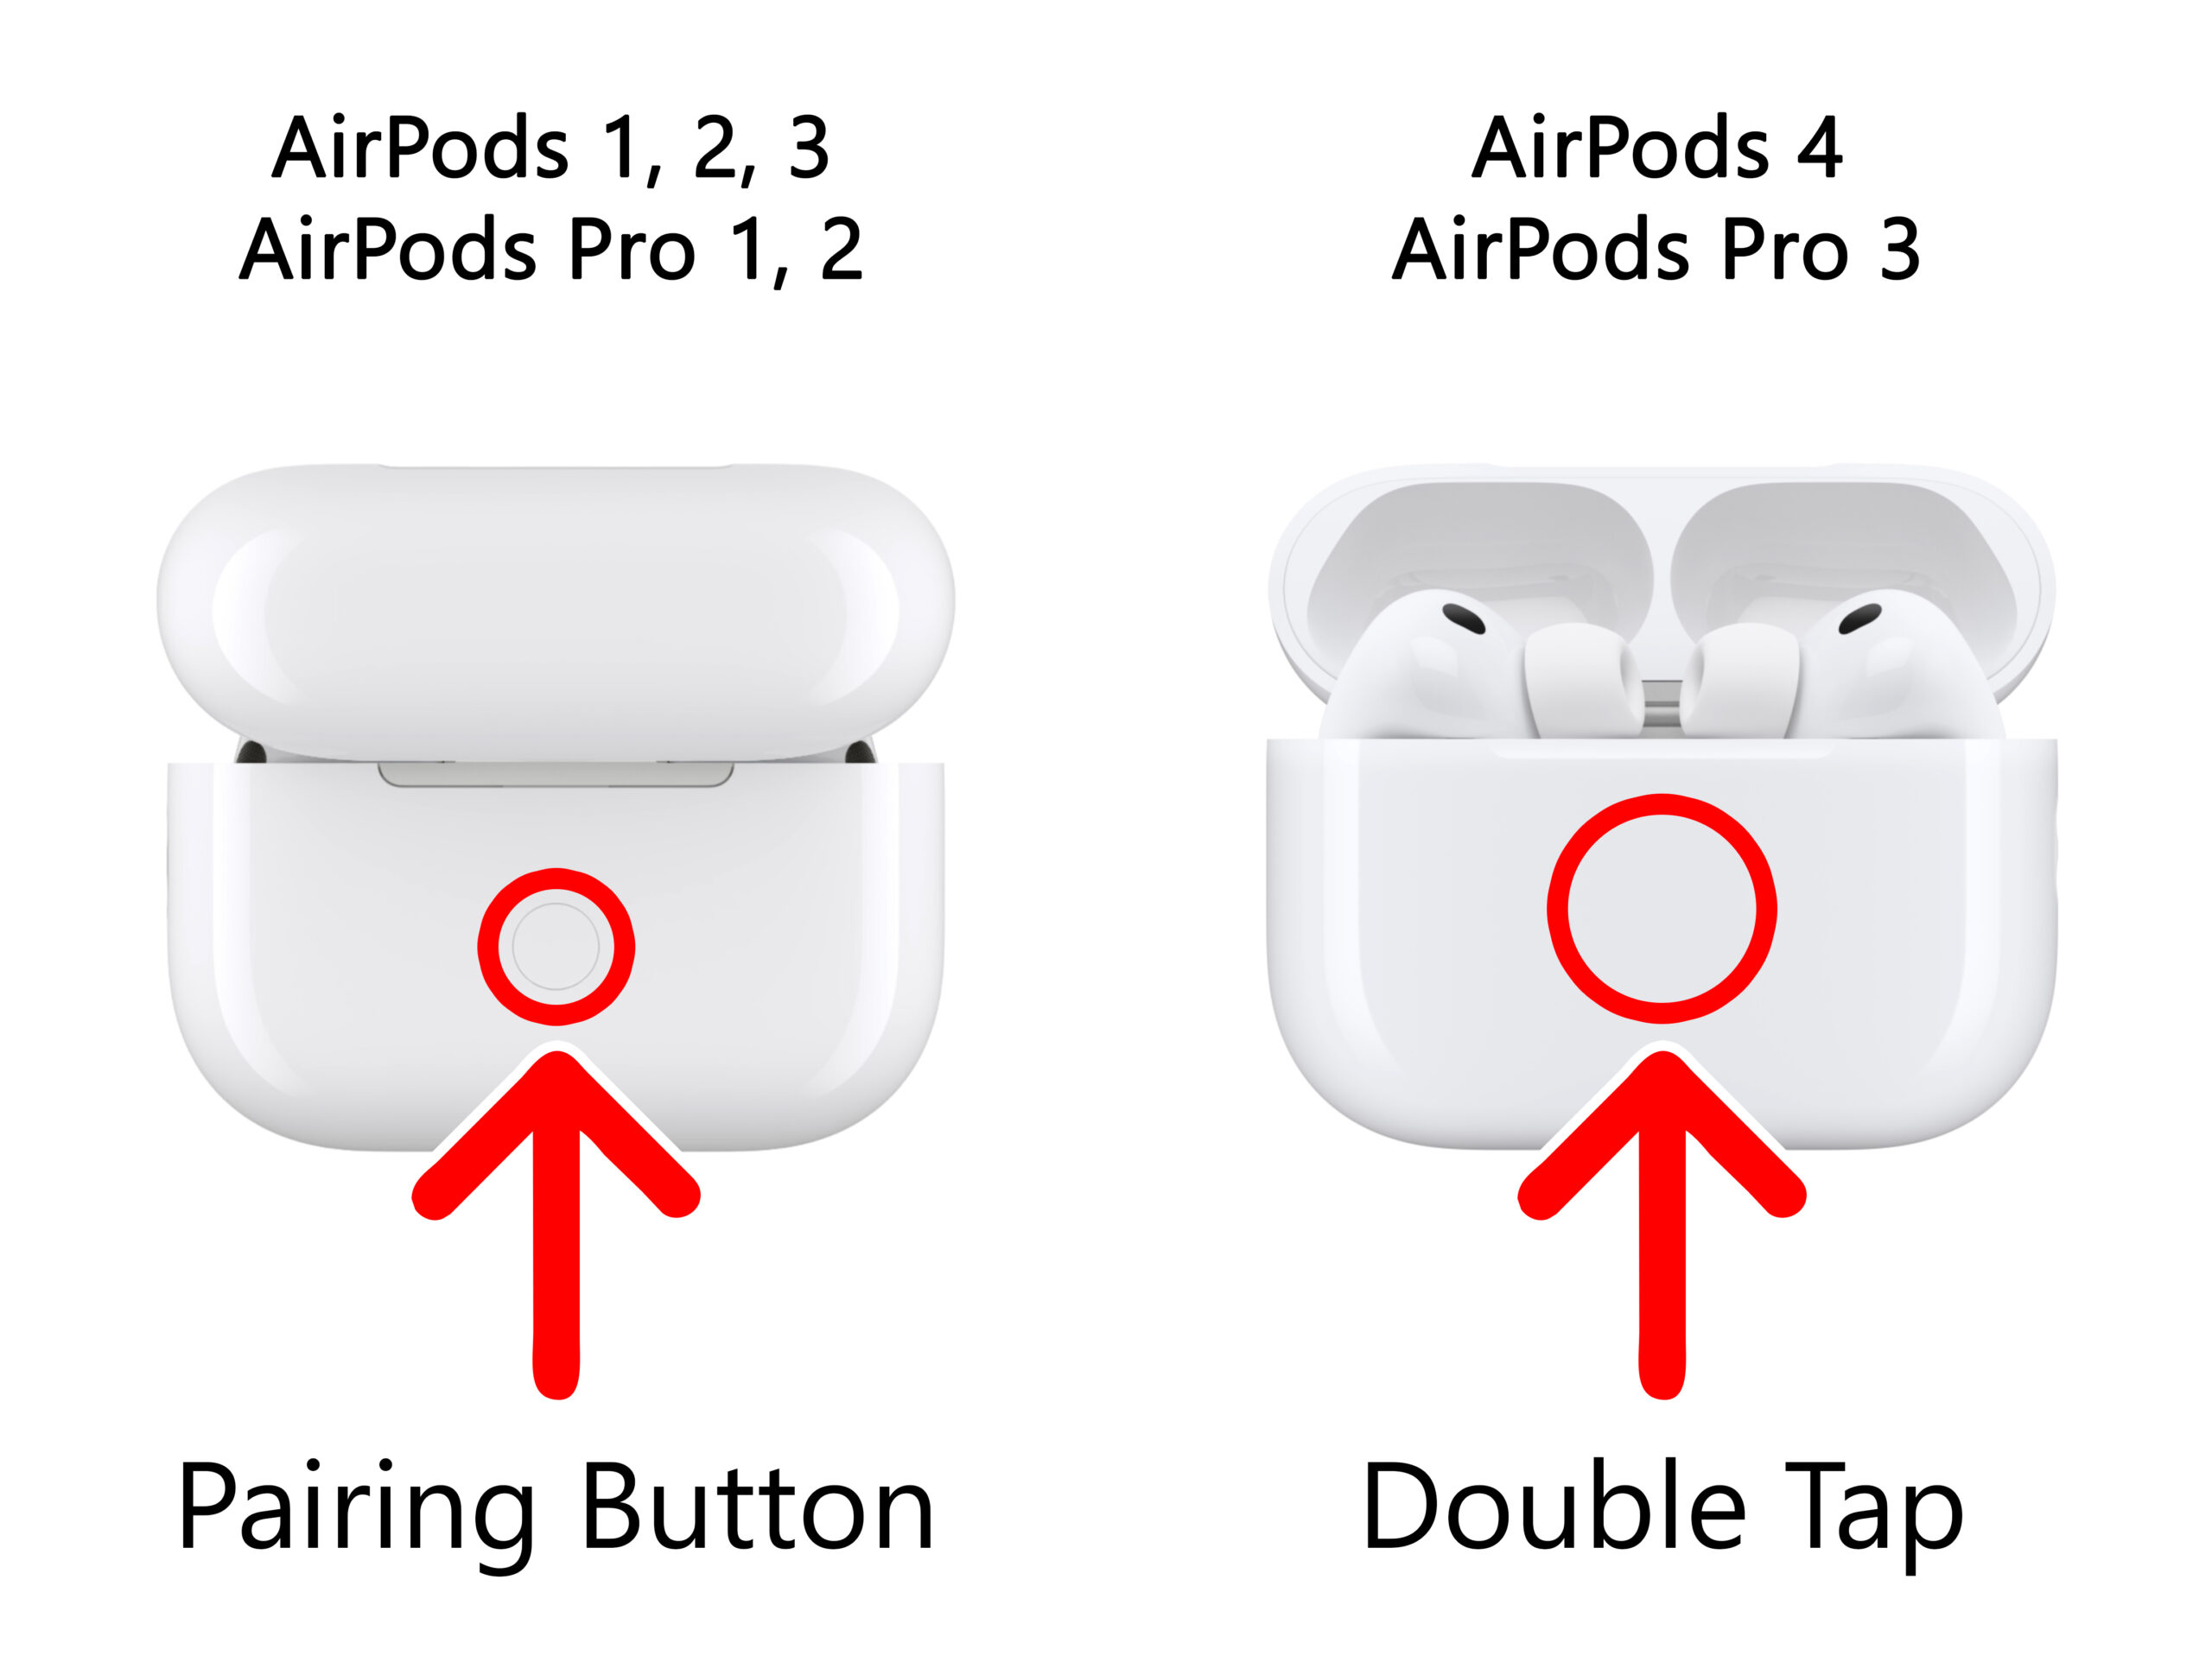
- Then open your AirPods case and press the pairing button until you see a light start flashing white. On AirPods 4, AirPods Pro 3 and newer models, double-tap the front of the case. For all other models, press and hold the pairing button on the back.

- Finally, select your AirPods when they appear.

Once your AirPods are connected, you will see a notification pop up in the top-right corner of your TV. Then your AirPods will be listed under “My Devices,” and you can select them to personalize your settings.
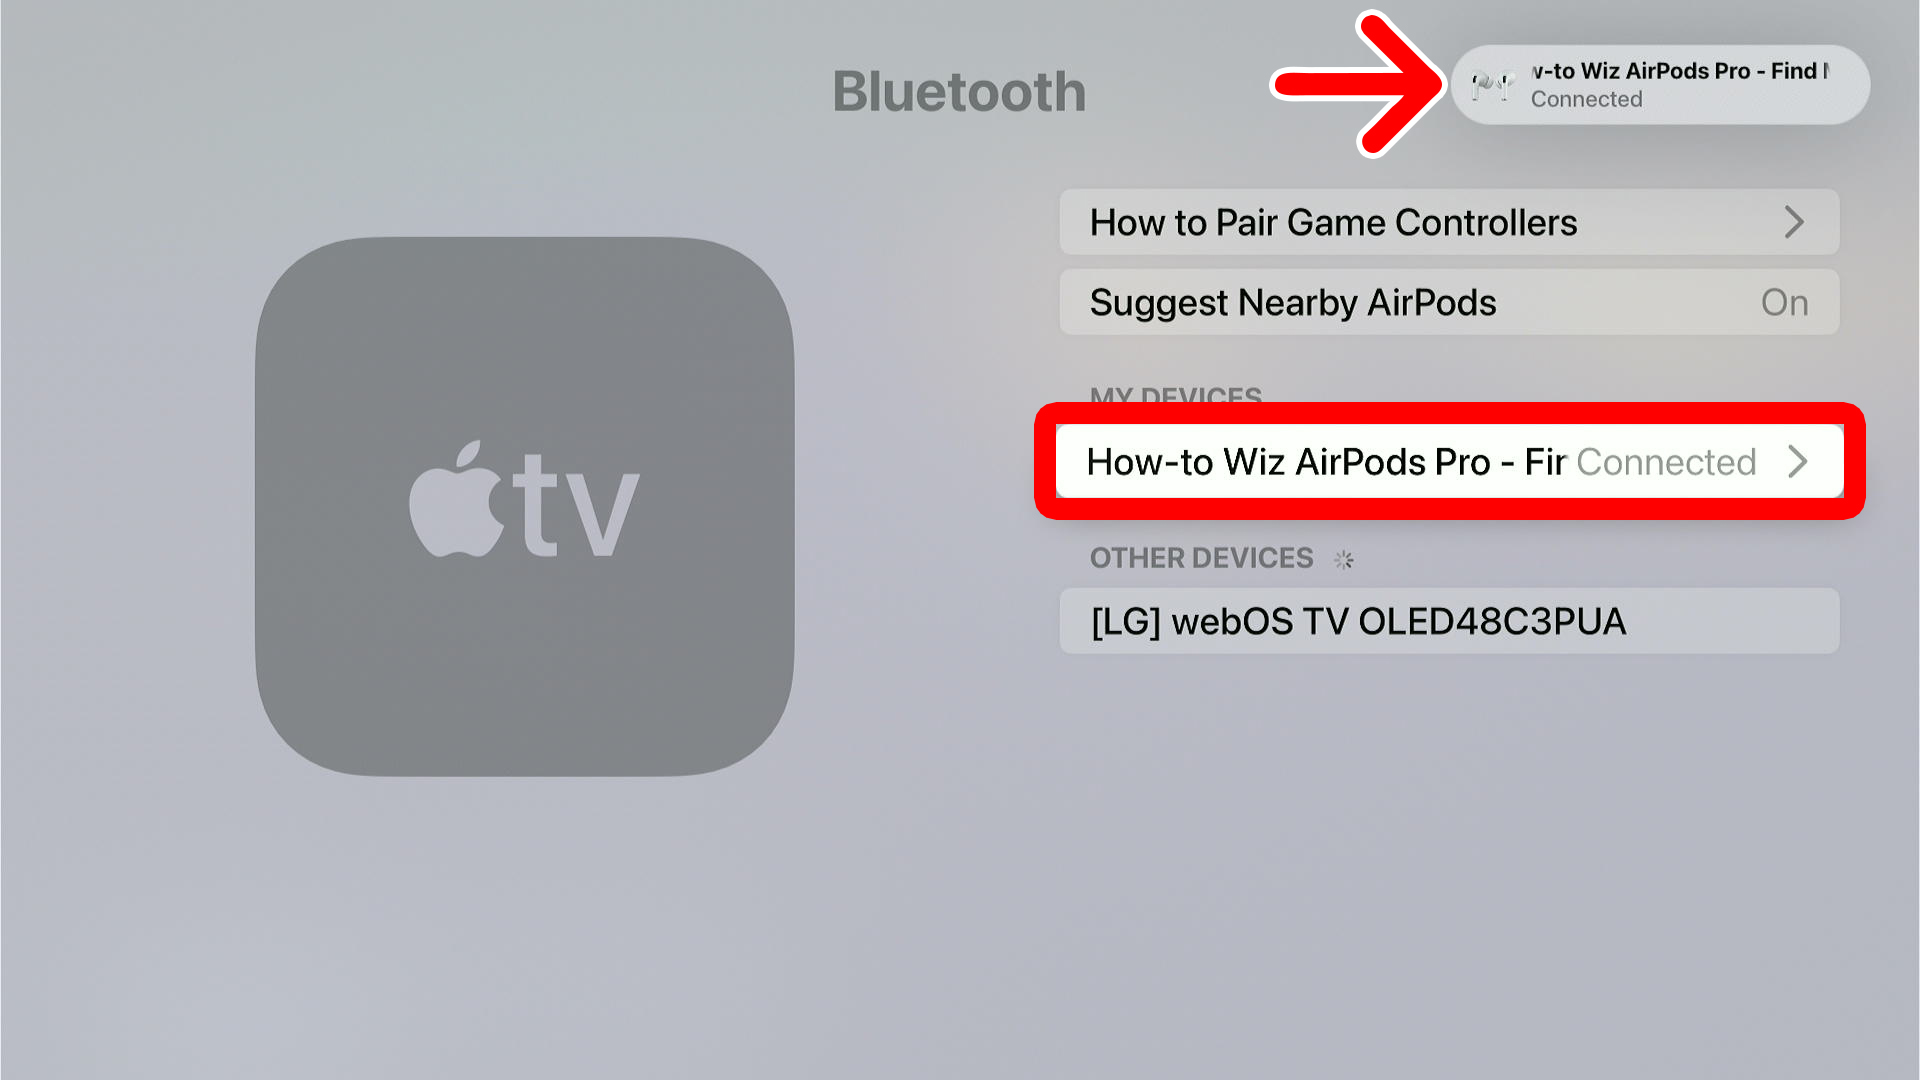
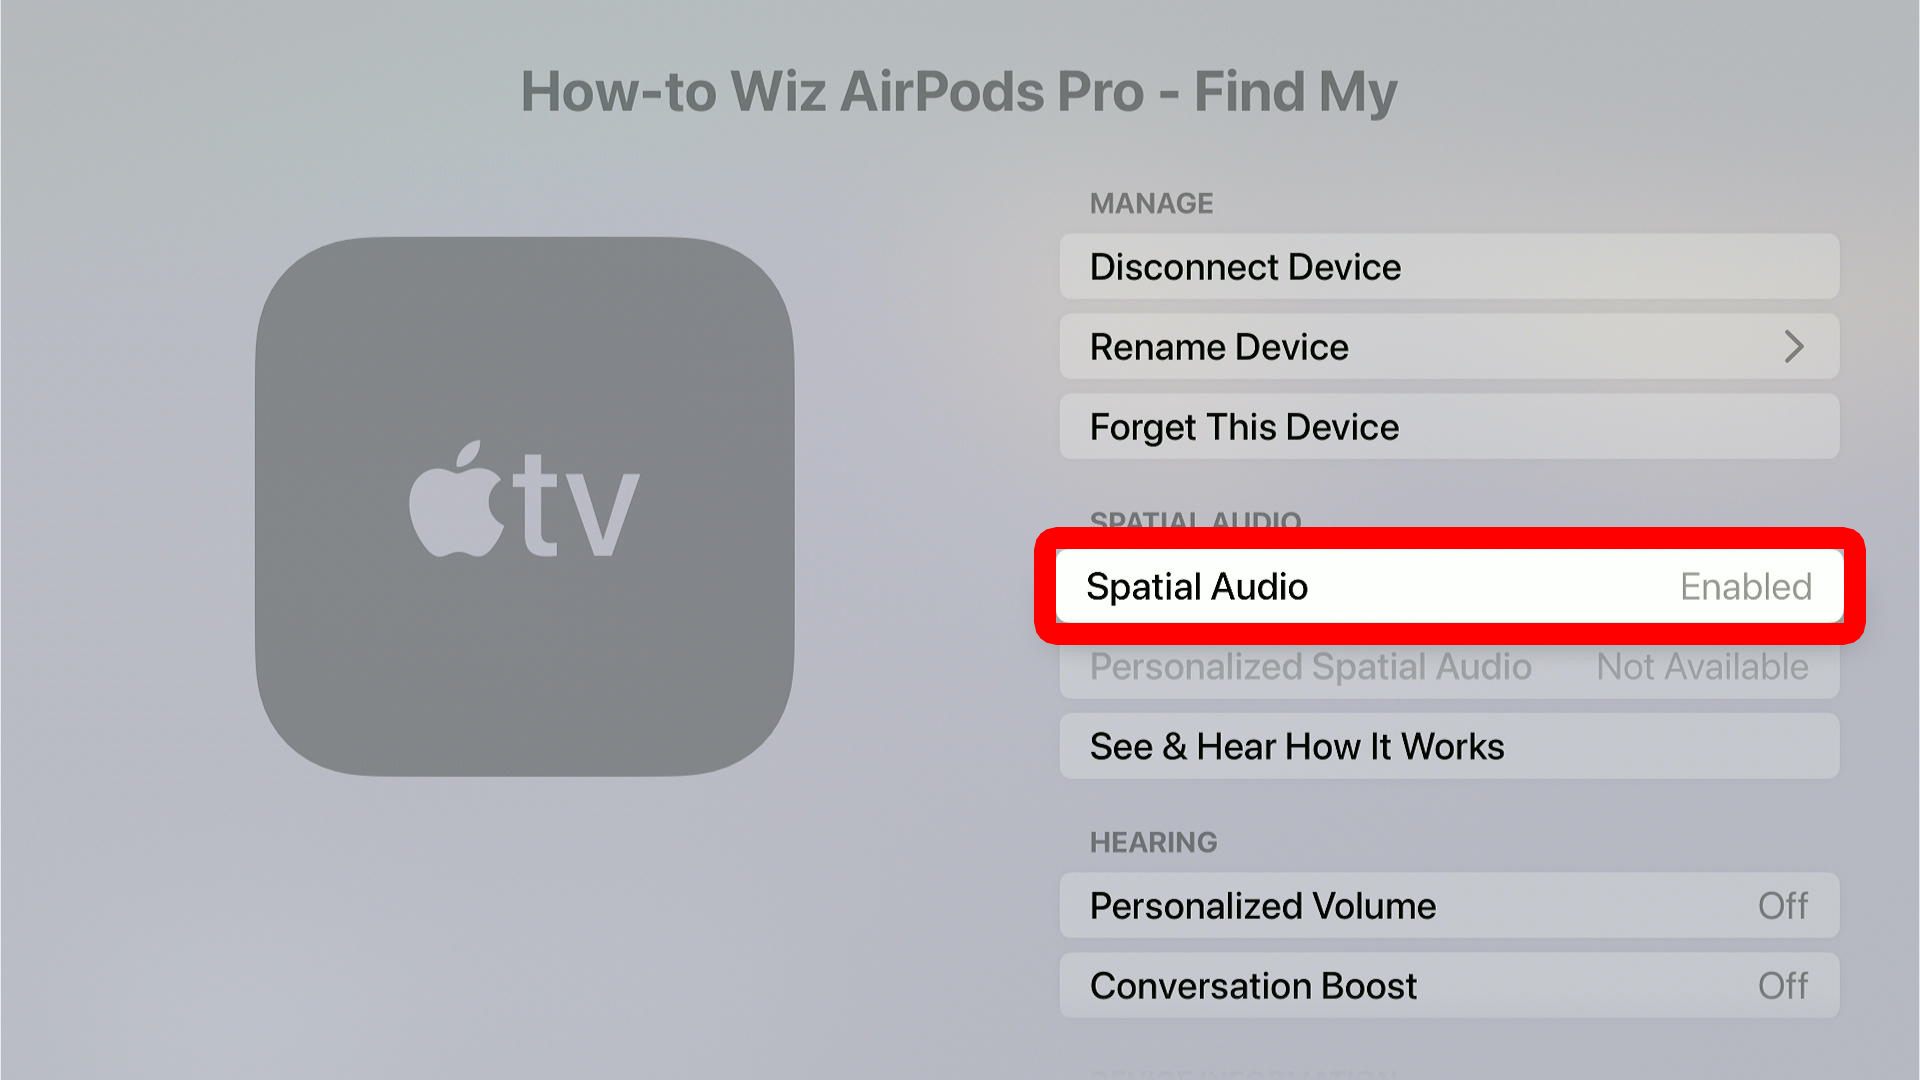
For example, you can disconnect, rename, or forget your AirPods. You can also turn on “spatial audio” to listen to Dolby Atmos surround sound with your AirPods.
How to Quickly Connect AirPods to Apple TV
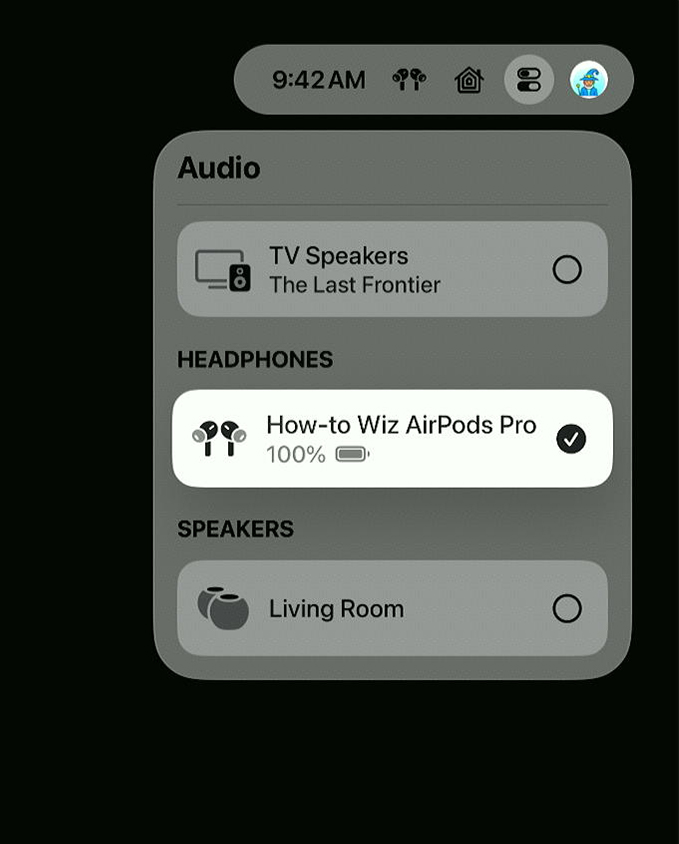
After you connect your AirPods to Apple TV the first time, you can quickly connect them by pressing and holding the “TV” button on your remote. Then select the “Audio” button and choose your AirPods from the list.
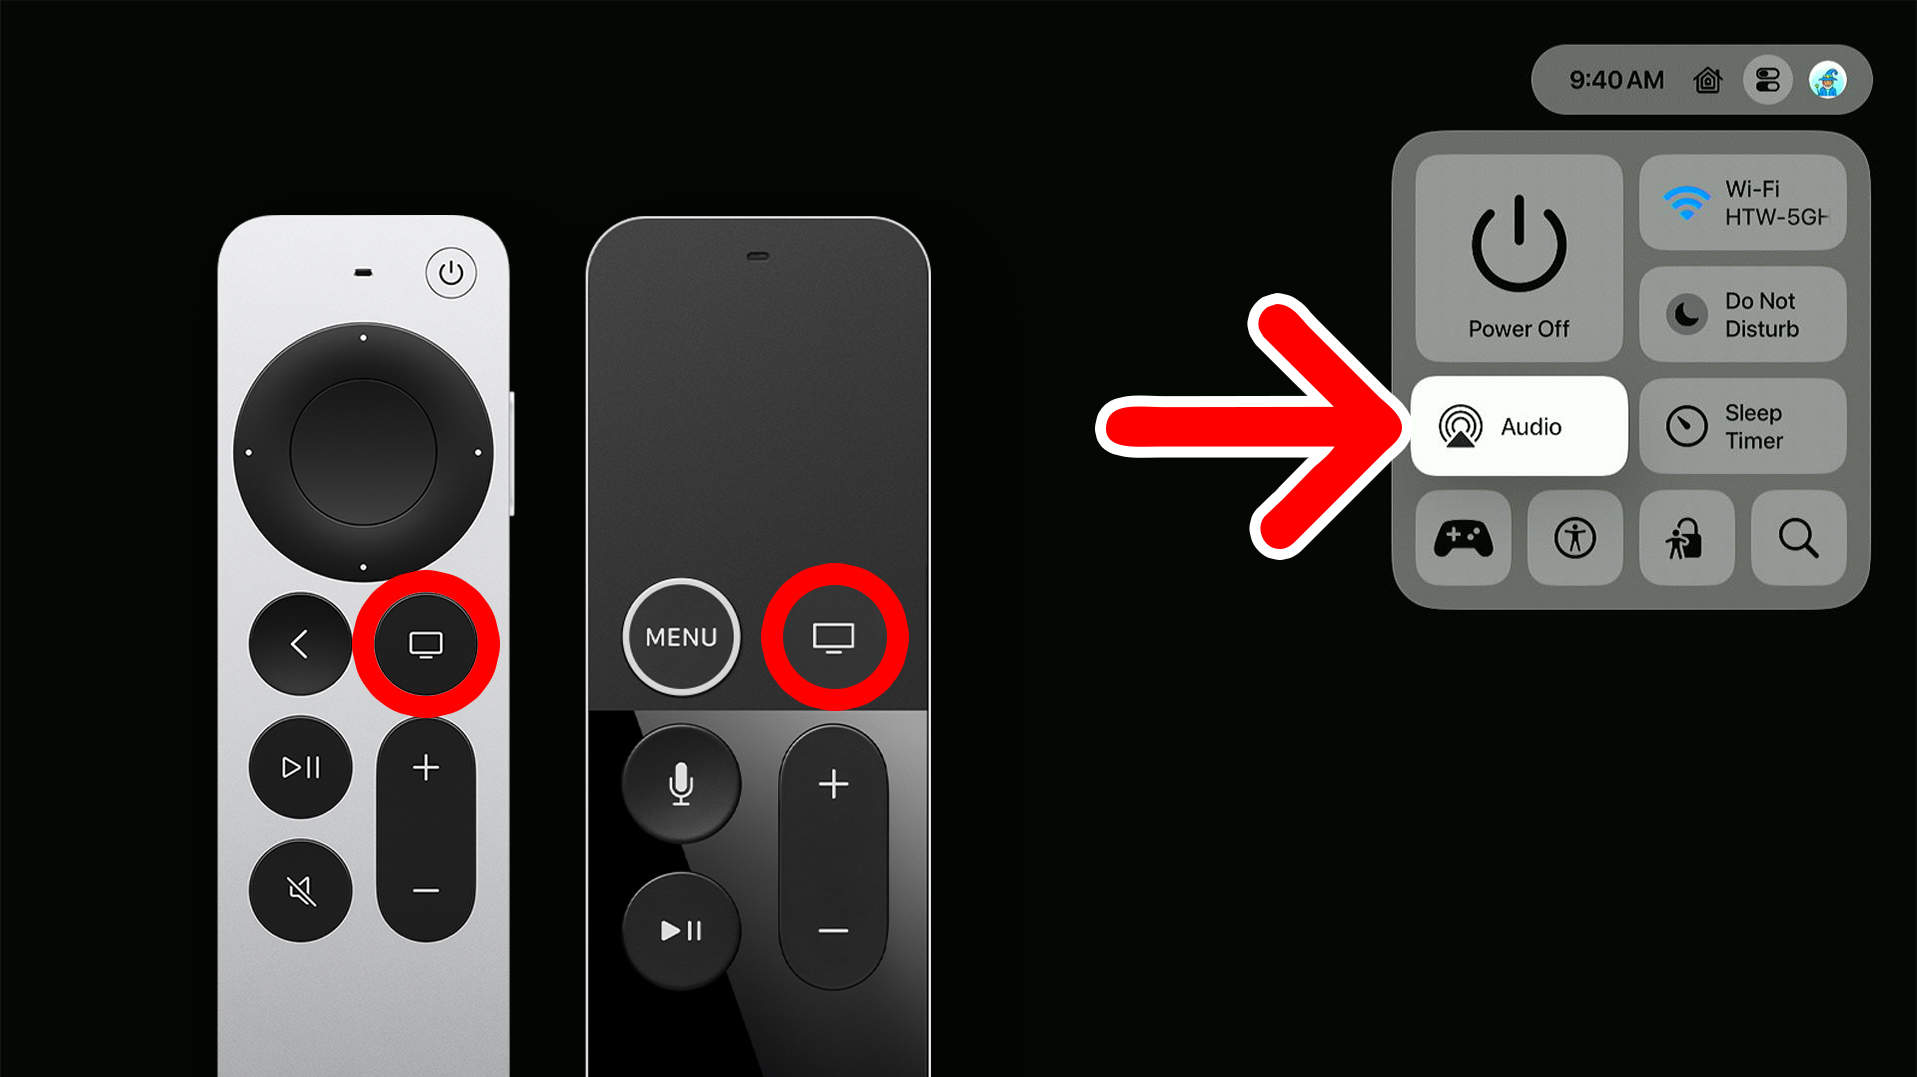
From this menu, you can quickly switch between audio sources by selecting one.
Read More: How to Pair or Reset Your Apple TV Remote