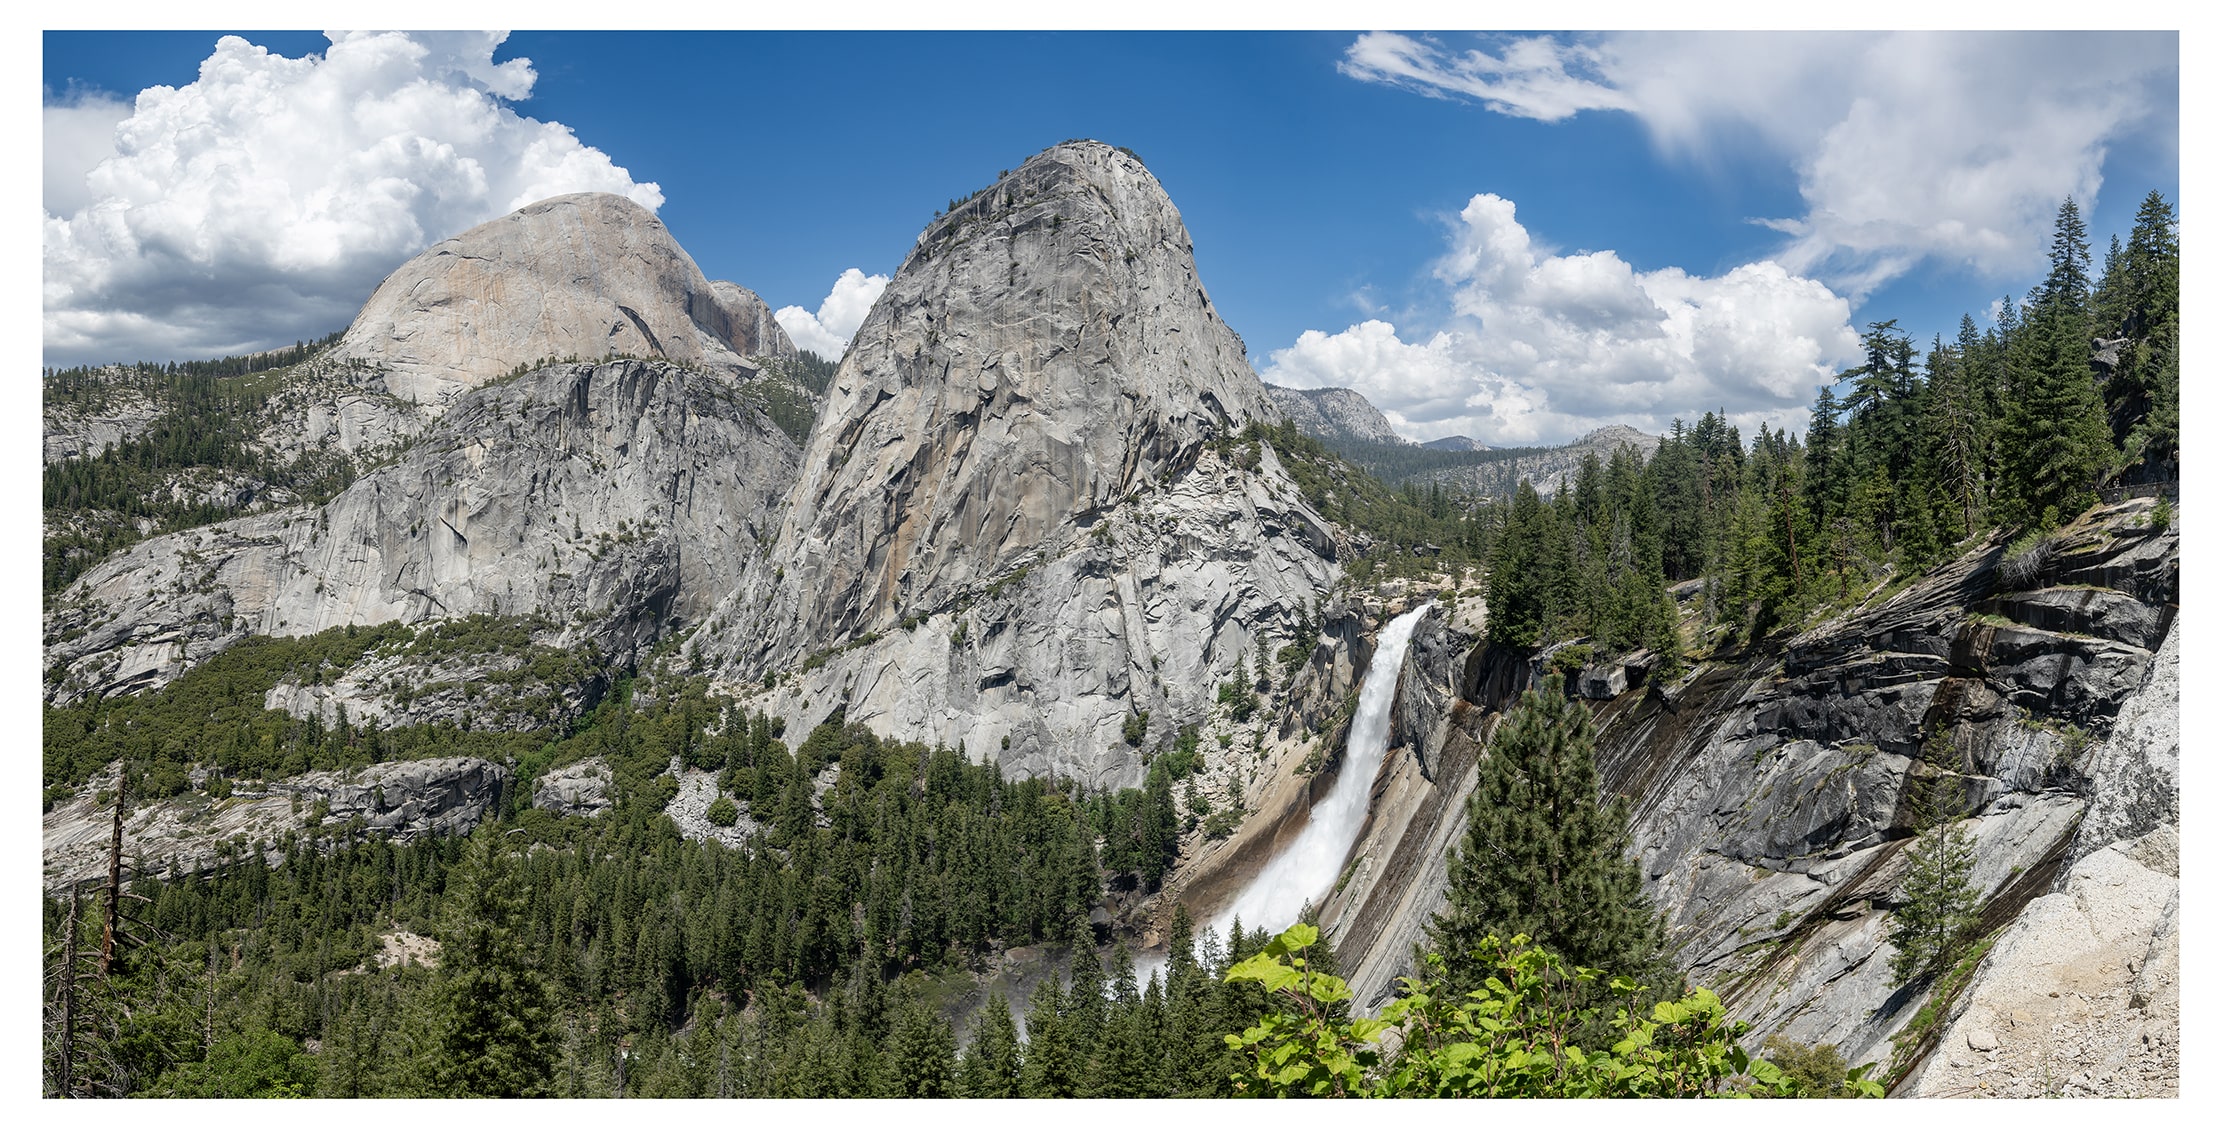
Your eyes often take in far more than one photo can show. Panoramas allow you to capture those sweeping scenes—mountains, skylines, even 360-degree vistas—in one seamless, high-resolution image. By combining multiple shots, you can create ultra-wide photos perfect for huge prints and moments you can relive anytime. Here’s everything you need to know about how to take a panorama and how to easily stitch the the photo together in Lightroom.
Read More: How to Add Photos to Your Echo Show
Gear to Bring:
- Tripod: You absolutely need a sturdy tripod with a stable head.
- Panning Base: This will make it easy to keep your camera level.
- L Bracket or Gimbal: These allow you to take high-resolution panoramas.
- Nodal Slide: This is only necessary if you plan to capture objects less than 100 feet from the camera.

Camera Settings for Landscape Panoramas:
- Use Manual Mode: You can also use Aperture Mode to make things easy, especially for landscapes.
- ISO: 100 (for the sharpest images in good light).
- Aperture: f/8 – f/11 (in most cases).
- Shutter Speed: Depends on the light (take a test shot of the brightest part of the panorama to avoid blowouts, then use that shutter speed across all shots).
- Focus: Manual (to set your focus, do a test shot in autofocus and then switch to manual focus before taking your panorama).
- White Balance: Not auto (choose daylight in most cases).
- Format/Quality: RAW (or RAW + JPEG).
- HDR: Enable exposure bracketing if your scene has extreme highlights and shadows.
- Lens Stabilization: Turn off image stabilization (IS/VR) when using a tripod, as it can introduce motion blur or slight shifts in stitched images.

How to Take a Panorama Photo
To take a panorama photo, set your digital camera to manual or Aperture Mode. Then level your tripod and leveling base before mounting your camera. Finally, take a series of shots while panning your camera, overlapping each photo by about 50%.
- Switch your camera to Manual or Aperture Mode. You want to use Manual Mode to ensure your ISO, aperture, and shutter speed won’t change between shots. Also, make sure your camera is set to manual focus and manual white balance.
- Level your tripod. Check the bubble level on your tripod as you pan the head from left to right. This is the most important step—if your camera isn’t level, your panorama won’t stitch properly.

- Mount your camera on a tripod. To achieve the highest resolution in your panorama, mount your camera vertically (portrait-style). This will require an L Bracket or Gimbal.
- Level the camera. To be safe, pan your camera from side to side and check your camera’s internal level (if available).

- Pan the camera and take each panorama photo with 50% overlap. Take a shot and then pan your camera so half of the previous image is captured again. This way, Lightroom can stitch your photos together and accurately align overlapping details between images. The more overlap each photo has, the easier it will be for Lightroom to stitch them together.


Before you move on, it’s a good idea to check your photos in the camera and zoom in on them to make sure they are all in focus.
How to Stitch a Panorama in Lightroom
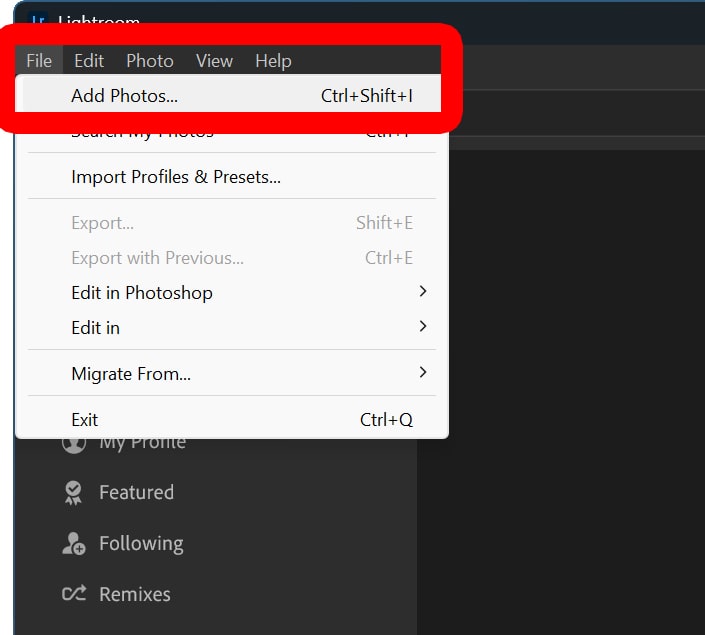
To stitch a panorama, open Lightroom and go to “File > Add Photos.” Then, select all your panorama photos and click “Review for Import > Add Photos.” Next, go to “Photos > Photo Merge > Panorama Merge.” Finally, click “Merge” and crop out any curved edges.
- Open Lightroom and click “File.” You will see this at the top of the Lightroom app in Windows.

- Select “Add Photos.”

- Select your photos and click “Review for Import.”
- Click “Add Photos.”
- Select all your panorama photos and click “Photo.”
- Hover your mouse over “Photo Merge” and select “Panorama Merge.” You can also select HDR Panorama Merge if you bracketed your shots.
- Wait for Lightroom to stitch your panorama photos. This can take a while, depending on how big your files are and how fast your computer is. To speed things up, you can move the photos to your computer’s main hard drive.
- Finally, click “Merge.” It can take a while for Lightroom to merge all your photos.


Once you are done, crop out the curved edges of the panorama and make any other edits in Lightroom.
